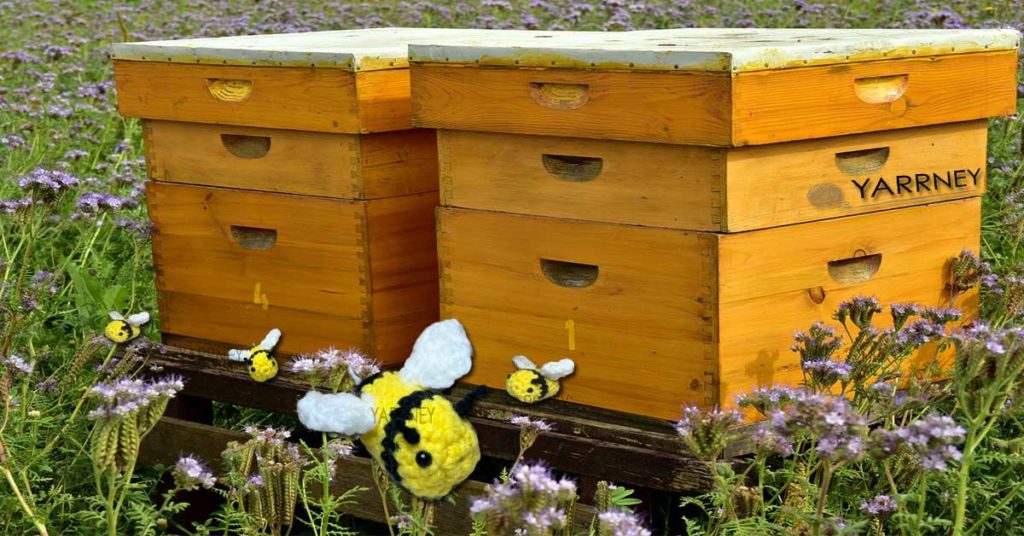
It could be your first or 50th amigurumi crochet pattern but we promise you will have a fun time making our crochet honey bee. Hopefully you already know the basic beginner stitches but if not, those are easy to learn and we have links to each of those below as well.
Once you crochet one bee plushie, you are going to want to make enough for a whole hive. Relatively it is a quick crochet project that can be completed in just a morning or evening at most. Let’s dive into how we are going to crochet our bee.
Items Needed for Our Crochet Honey Bee Pattern:
You don’t need much for our free crochet bee pattern but of course you will need white, yellow and black yarn.
Here is a comprehensive list of everything you’ll need for this pattern –
- We used a US 7 (4.50mm) crochet hook.
- #4 medium/ worst weight yarn – Black, White and Yellow.
- Yarn needle
- Safety eyes
- Polyfill stuffing, yarn scraps or miscellaneous stuffing
- Scissors or cutting tool
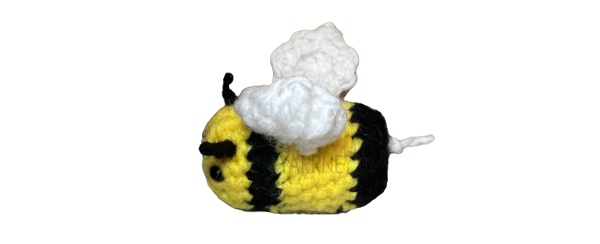
Compared to some projects, this one only needs a few materials. Plus, a lot of people have white and black yarn on hand for amigurumi. You might only have to pick up yellow and some safety eyes. Our finished bee will be just over two inches long. A fun size for sure!
Stitch Terms Used In This Pattern
Stitches and abbreviations for our crochet honey bee:
Sc = Single Crochet
Inv dec = invisible decrease
Tr = Treble Crochet
Dc = Double Crochet
Hdc = Half Double Crochet
Ss = slip stitch
Let’s Start on Our Crochet Honey Bee!
Honey Bee Body
With the yellow yarn, start by making a magic ring.
Round 1: 6 sc into the magic ring (6 stitches total).
Round 2: 2 sc in each stitch around the magic ring (12 stitches).
Round 3: sc in next stitch, 2 sc in next stitch, repeat around (18 stitches).
Rounds 4 and 5: sc around (18 stitches) Change to black in very last stitch.
Rounds 6 and 7: Using black, sc the full way around. Change to yellow in the very last stitch of round 7.
Rounds 8 through 11: With yellow, sc around (18 stitches) Next, change to black in last stitch of round 11.
Rounds 12 and 13: Using black, sc the full way around. (18 stitches)
Ok, we’ve made it to the time to insert the eyes. Put your safety eyes between rounds 2 & 3 and there are about 6 stitches in between. Also take this time to put some stuffing in your honey bee and add stuffing as you finish up the pattern.
Round 14: sc in next stitch, then sc next 2 stitches together. Repeat from this pattern around for round 14 (12)
Round 15: sc next 2 stitches together (6). We are starting to close off our honey bee.
Round 16: sc next 2 stitches together (3). Fasten off the hole leaving a long strand to sew the bee closed. Make sure bee is stuffed then thread the yarn end through the yarn needle. Weave the opening close and tie in the end. It should almost be unnoticeable.
Wrapping Up
Now for the Wings
You are going to make the wings by starting with a magic ring. Then we stitch in a sequence of stitches into the wings.
Using white yarn that is the same size as your bee, make a magic ring.
Round 1: Stitch in the following sequence in your magic ring to make your wings – sc, hdc, dc, 3 tr, dc, hdc, sc. Cut your yarn and leave a long tail for sewing. Follow the same sequence for the second wing and then sew in both wings to the top of the honey bee.
Don’t forget the Antenna
Using your black yarn, chain 6. Fasten off off the chain and leave a long tail end. With your long tail end, tie a knot near the end of the chain then cut off the excess near the knot. You’ll still have one long end of yarn.
Pull the Antenna through the head and stuffing with a little bit sticking out each side. Now you should have two antenna using the one chain! 3-4 stitches is the right amount of space between the antenna.
Once the antenna looks great, make a knot close to the end of the chain using your last remaining long end of yarn and then cut it near the knot.

Lastly Add the Stinger!
Take your white yarn and chain three. Tie a knot near the end of the chain, leave a long end of yarn to sew in and cut your yarn.
Now take your long end and thread it on your yarn needle. Insert it from the front of the bee and pass it out the back. Pull out just a little bit, take off your yarn needle and cut to desired length for your stinger. The excess yarn will be inside your honey bee and unnoticeable since you passed the stinger from the front, out the back.
Conclusion
Crocheting a plushie honey bee is a great beginner amigurumi pattern. Not only is it simple but it is a nice small pattern to get started. It is quick to finish and rewarding once you complete it.
Once you make a few, one fun thing to do is hang them using some very light clear fishing line. If you follow our pattern, let us know, we’d love to see you share some of your pictures.