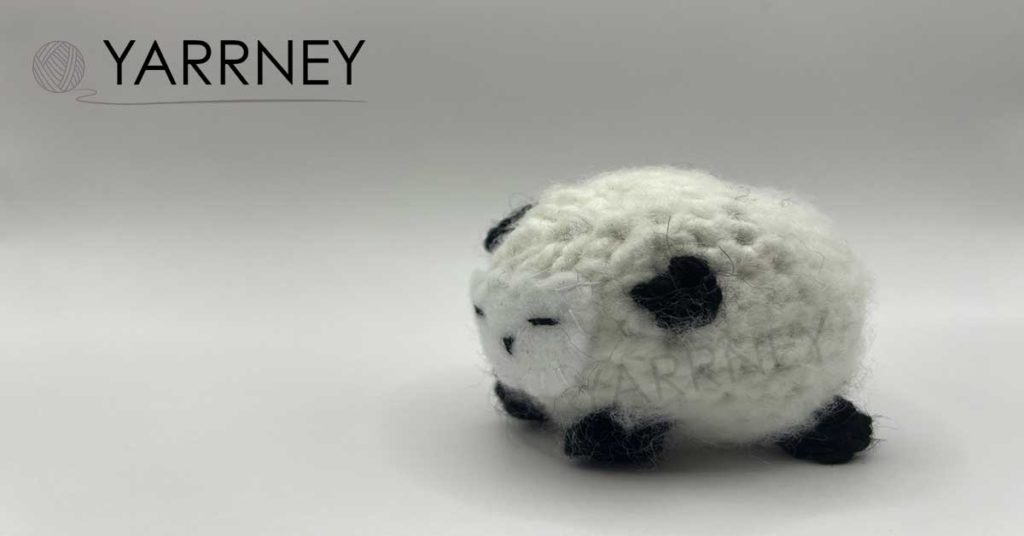
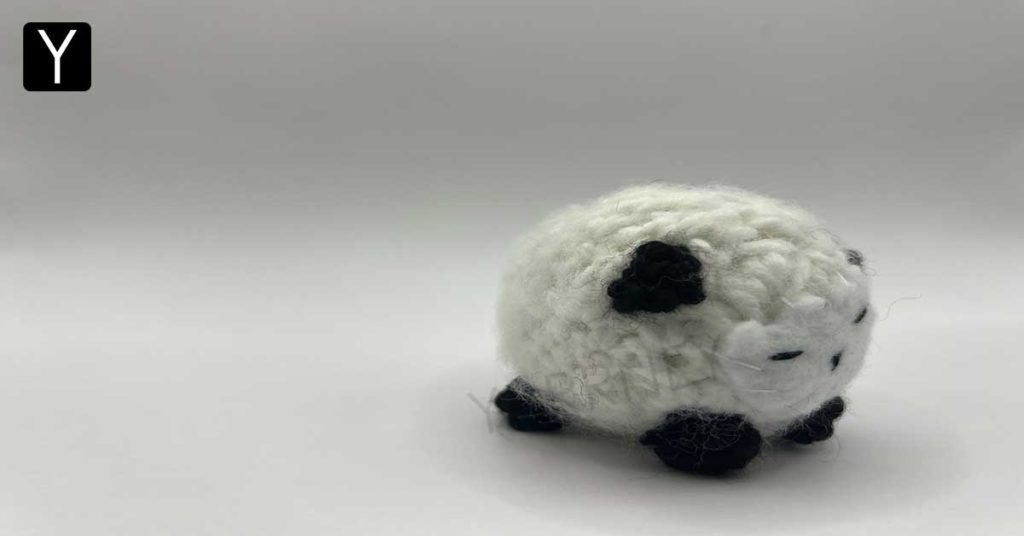
Fluffy, fun and fast. That sums up our free amigurumi sheep pattern. You are going to love this barn yard favorite. It is pretty small with the finished sheep being under 3 inches but this makes for a great desktop friend or animal. Let’s get our yarn out, other supplies and get started!
Items Needed for Our Crochet Amigurumi Sheep Pattern:
You only need a few colors for this pattern but feel free to change up your colors to make gray, tan and black sheep too. It does help to have hairy yarn when crocheting our sheep.
Here is a comprehensive list of everything you’ll need for this pattern –
- We used a US 7 (4.50mm) crochet hook.
- #4 medium/ worst weight yarn – White & Black
- Yarn needle
- Stitch marker
- Black embroidery thread and a thread needle
- White felt
- Polyfill stuffing, yarn scraps or miscellaneous stuffing
- Scissors or cutting tool
Since this project is a small and quick one, you’ll likely be tempted to finish one sheep and start crocheting another in a different color.
Stitch Terms Used In This Pattern
Stitches and abbreviations for our crochet sheep:
Sc = Single Crochet
Sc2tog = Single crochet two together
Mr = Magic Ring
Crochet terms in pattern are in U.S.
Let’s Start on Our Crochet Sheep!
Sheep Body
With the white yarn, start by making a magic ring.
Round 1: 6 sc into the magic ring (6 stitches total).
Round 2: 2 sc in each stitch around the magic ring (12 stitches).
Round 3: 2 sc in next stitch, sc in next stitch, repeat 6 times (18 stitches).
Round 4: 2 sc in stitch, sc in next stitch, repeat sequence 6 times (24 stitches).
Rounds 5 through 12: sc in each stitch the full way around for 8 rounds (24 stitches).
Round 13: sc2tog, sc in next two stitches, repeat sequence 6 times (18 stitches).
Stuffing Alert! Adding stuffing and keep stuffing as you finish out the body of the sheep. It should be very firm when done stuffing.
Round 14: sc2tog, sc in next stitches, repeat sequence 6 times (12 stitches).
Round 15: sc2tog 6 times (6 stitches). Cut your yarn and leave a long tail for sewing. Sew your hole closed on the body of the sheep.
Onto the Ears (Make 2 of these)
Get your black yarn and chain 4. Sc into the first chain your started with. Tie off on your last stitch and leave a long tail for sewing. Longer is better.
Now for the Hooves (Make 4 of these)
Take your black and make 6 sc into a magic ring (6 stitches total). Tie off on your last stitch and leave a long tail for sewing. Longer is better.
Assembling Your Crochet Sheep
Start by sewing the ears near the top of the head, one on each side. Cut out a face similar to as shown above and attach with white thread. Make two eyes using black thread and a nose. Finally you can use some pins to line up the hooves before sewing. Once you are happy, sew them in.
Congrats! You made it to the end of the pattern.

Conclusion
That was probably one of the quicker amigurumi pattern you have done. Let us know if you struggled anywhere and how you did. Send us a picture of your finished work, we’d love to see it!
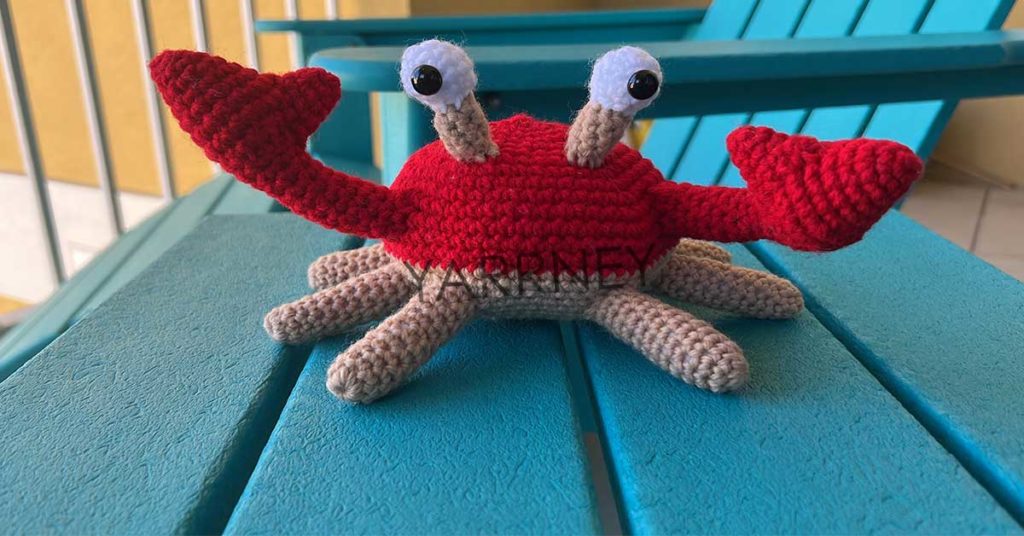
Time for another pattern. Want to make a crochet crab or an amigurumi turtle? Try this free crab pattern or this free turtle pattern.